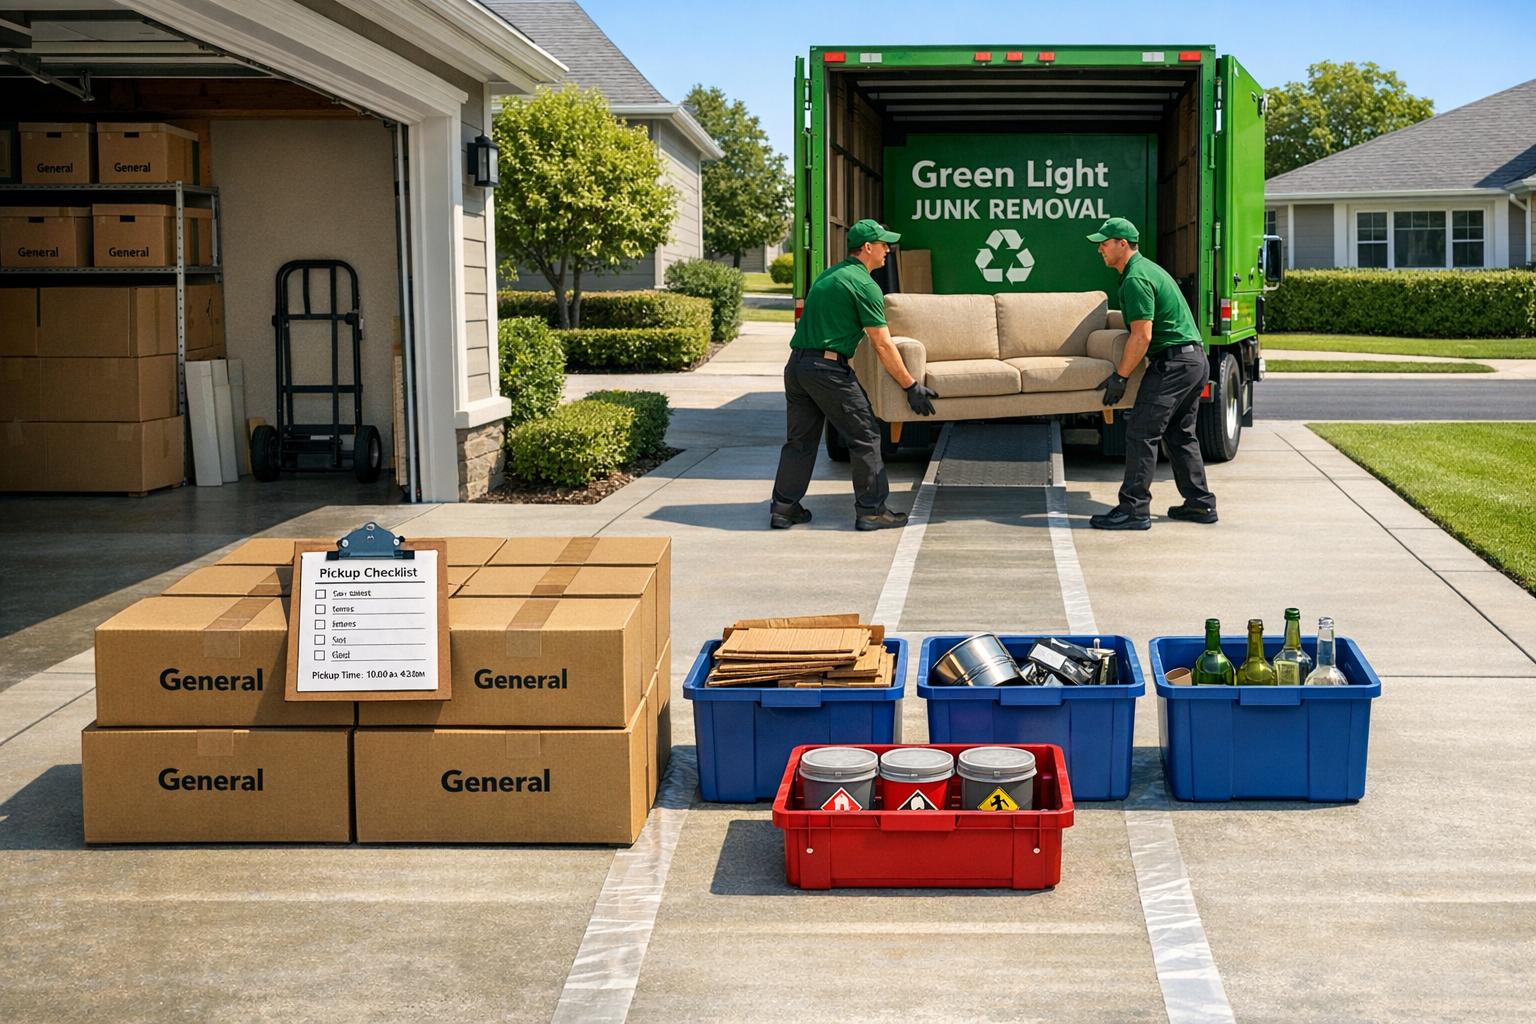
Want a smooth junk removal experience? Here’s the key: preparation. Taking a few simple steps before the crew arrives can save you time, reduce costs, and make the process hassle-free. Here’s what you need to know:
- Sort and Organize: Separate items into "keep", "donate", and "trash." Clearly label what should go and what stays to avoid confusion.
- Group and Prepare Items: Gather similar items together and disassemble bulky furniture to save space in the truck. Pack smaller items in sturdy boxes.
- Clear Pathways: Remove obstacles like rugs, cords, or clutter from walkways to ensure safety and efficiency.
- Eco-Friendly Disposal: Separate recyclables and hazardous materials for proper handling. Donate usable goods to reduce waste.
- Share Details: Provide the removal team with a detailed list, photos, and any special instructions. Confirm your appointment and review prohibited items like paint or chemicals.
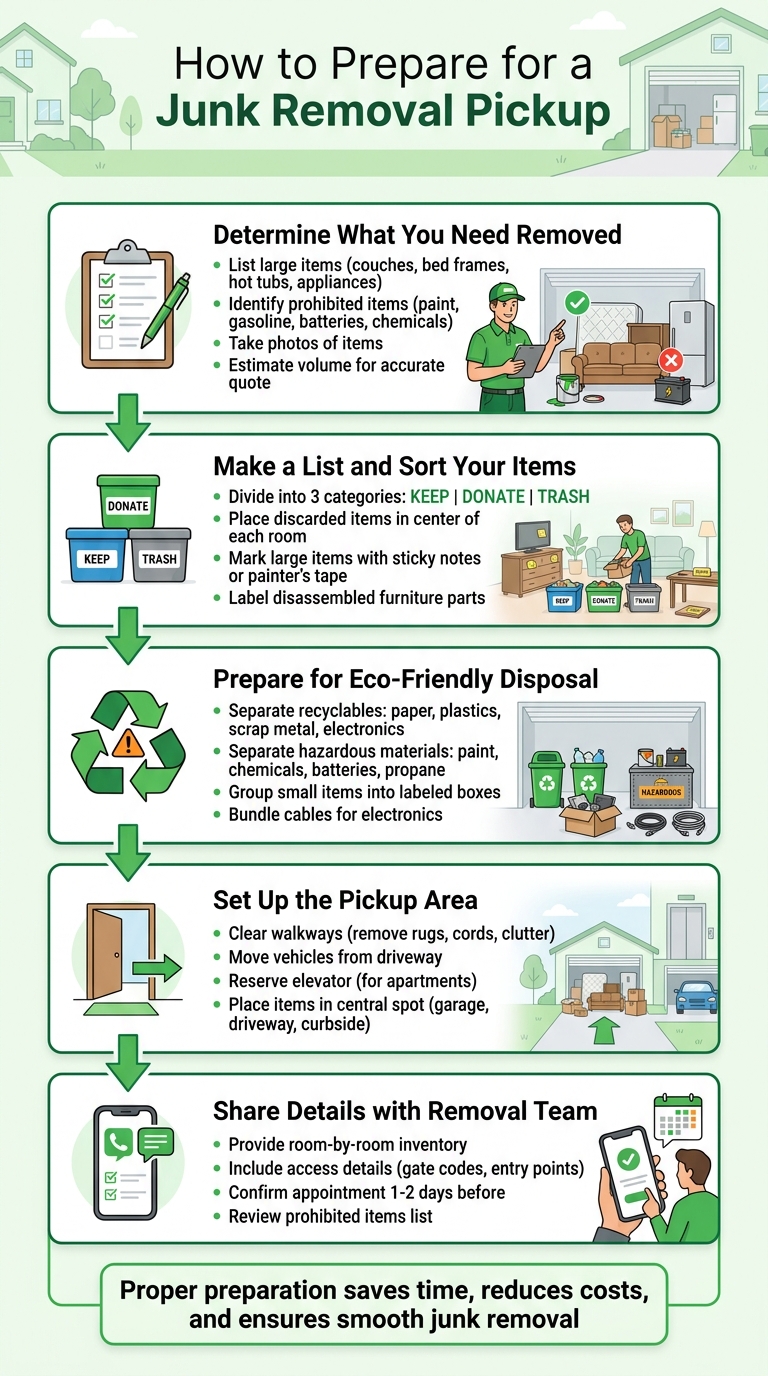
5 Steps to Prepare for Junk Removal Pickup
Step 1: Determine What You Need Removed
List the Items You Want Removed
Start by going through every room, along with spaces like the garage, attic, and basement, to identify everything you want to get rid of [2][3]. Pay special attention to large items like couches, bed frames, hot tubs, and appliances. These bulky items take up significant space in the truck and can heavily impact the final cost [3].
Some items require special handling. For example, appliances containing refrigerants, such as refrigerators or air conditioners, must meet EPA disposal guidelines [2]. Mattresses might need to be wrapped in plastic due to local sanitation regulations [1]. If you have furniture that needs to be disassembled – like sectional sofas or shelving units – make a note of that [1][2]. Also, identify prohibited items early on. Most junk removal services won’t take hazardous materials like paint, gasoline, batteries, or chemicals [1][3].
"Knowing what you need to get rid of ensures you don’t miss anything and allows the junk removal company to provide you with an accurate quote." – Catherine Hiles, Contributing Writer, Angi [5]
To stay organized, create a checklist and take photos of the items. This can help you track their condition and decide if some things could be donated or sold instead of discarded.
Once everything is listed and categorized, estimate the quantity of your items to get a precise pickup quote.
Estimate How Much Junk You Have
Getting an accurate estimate of the volume of junk can help you avoid unexpected costs. Since large items often determine pricing, it’s crucial to understand how much space they’ll take up. For instance, removing a hot tub can cost around $400 on its own [5].
Group similar items together – like electronics, yard waste, or scrap metal – to make the process smoother. If possible, disassemble large furniture to reduce its volume, which might also lower your costs [1]. Measure oversized items and check the dimensions of doorframes to ensure that everything can be removed without damaging your property [2]. For smaller, loose items like tools or toys, pack them into sturdy boxes or bins to keep them contained during loading [2].
A clear understanding of your junk’s volume will make the next step – sorting and eco-friendly disposal – much more efficient.
sbb-itb-096ce5b
Step 2: Make a List and Sort Your Items
Divide Items into Keep, Donate, and Trash
Sorting your belongings into Keep, Donate, and Trash categories helps ensure only the right items are removed [1][3]. Start by moving everything you’re keeping into a designated "safe zone" or a separate room where the removal crew won’t have access. For items you’re discarding, place them in the center of each room to make it easier to distinguish what stays and what goes [3].
"Setting aside discarded items in the center of each room is a good way to separate what’s going and what’s staying." – Catherine Hiles, Contributing Writer, Angi [3]
Donating items can also cut down on the total amount of junk, which might reduce your service cost [1][3]. Donation centers often accept items like furniture, appliances, clothing, books, and power tools, provided they’re in good condition [6]. For recyclables – such as electronics, paper, cardboard, and scrap metal – group them together for an efficient and environmentally friendly disposal process [7]. Anything broken, non-recyclable, or contaminated should head straight to the trash pile.
"Taking time to separate items by type or destination will help everything run smoother on pickup day." – Orange Crew Chicago [1]
Mark Large or Special Items
Once sorted, make sure to clearly identify any bulky or special items to simplify the removal process. Items like hot tubs, sectional sofas, or bed frames should be labeled to guide the crew. Use sticky notes, painter’s tape, or physical tags to mark these larger pieces, especially if you won’t be home during the pickup [1][3]. This step avoids confusion and helps the team work more efficiently.
For disassembled furniture, place all hardware in a labeled container to keep everything organized [2]. If you’ve packed fragile items in boxes, mark them with "Handle with Care" to alert the crew [2]. Simple precautions like these can save time and prevent mishaps.
Step 3: Prepare Items for Eco-Friendly Disposal
Once you’ve sorted your items into categories, it’s time to get them ready for eco-friendly disposal.
Separate Recyclables and Hazardous Materials
Start by identifying which items are recyclable and which are hazardous. Common recyclables include paper, plastics, scrap metal, yard waste, and electronics like computers and printers. Gather these items in one area to make the recycling process smoother.
Hazardous materials, on the other hand, need special attention. These include items like paint cans, household chemicals, batteries, propane tanks, gasoline, and medical waste. Such materials require certified disposal channels, as most junk removal services can’t handle them.
"Hazardous materials: Paint cans, chemicals, and batteries should never be mixed with general junk." – Junk Jaws [2]
If you’re not sure whether something qualifies as hazardous, contact Green Light Junk Removal before your scheduled pickup. This will help you avoid delays or unexpected fees. Once you’ve separated recyclables and hazardous items, you can focus on organizing smaller items.
Group Small Items into Boxes or Bags
After dealing with bulkier items, gather smaller ones like tools, hardware, and toys into labeled containers. Use sturdy boxes or bins to keep everything organized. For electronics, unplug and neatly bundle cables before packing them.
If you’re disposing of clothing or linens, fold them neatly before placing them in bags. This not only saves space in the truck but could also lower your volume-based service fee. Use sticky notes or painter’s tape to label boxes with their contents – marking them as "Fragile", "Donate", or "E-Waste" – so the crew knows how to handle them and ensure everything ends up in the right place.
Step 4: Set Up the Pickup Area
Now that everything is sorted and organized, it’s time to prepare an accessible pickup area. A little effort here can go a long way in helping the crew work quickly and safely, avoiding unnecessary delays.
Clear Walkways and Remove Obstacles
Start by inspecting all the paths the crew will use, both indoors and outdoors. Remove anything that might cause a trip – like rugs, garden hoses, or power cords. If hallways or doorways are part of the route, shift small furniture pieces to keep things clear. Outside, move vehicles from the driveway so the truck can park close to your items. For apartment dwellers, reserve the elevator ahead of time and ensure gates or security entrances are unlocked, sharing any necessary access codes. If you have bulky furniture, consider disassembling it beforehand to make things easier.
Place Items in an Easy-to-Reach Spot
Gather all items for removal in one central spot, like your garage, driveway, or curbside. Group similar items together to make loading quicker and more efficient. Label anything that’s not meant for removal, especially if you won’t be home when the crew arrives. If certain items are in tricky locations or require extra effort to move, let the team know in advance. A well-organized setup ensures the process runs smoothly and without confusion.
Step 5: Share Details with Green Light Junk Removal
Once your items are sorted and the pickup area is ready, communication becomes the next big step. Clear and detailed communication ahead of time ensures the removal crew shows up prepared, avoiding any hiccups on the big day.
Provide a Detailed List and Special Instructions
Start by creating a room-by-room inventory of everything that needs to be removed. Be as specific as possible, especially for large or heavy items like sectional sofas, bed frames, or appliances. If you have specialty items like pianos or hot tubs that may need extra equipment or manpower, make sure to highlight those.
Don’t forget to include access details such as gate codes, preferred entry points, and exact locations of the items. For added peace of mind, take photos of any valuable or fragile items to document their condition before removal[2].
Confirm Your Appointment and Review Prohibited Items
Touch base with Green Light Junk Removal about one or two days before your scheduled pickup. They usually send a courtesy call or text 15 to 30 minutes before their arrival[4].
Make sure you’re familiar with their list of prohibited items to avoid surprises. Items like paint, chemicals, gasoline, motor oil, propane tanks, or asbestos are not accepted. Additionally, some items – like mattresses, tires, or appliances containing Freon – might come with extra recycling fees. It’s a good idea to ask about any potential surcharges when confirming your appointment.
"The company can provide you with a list of prohibited items and can direct you to the appropriate resources to dispose of hazardous material" – Catherine Hiles, Contributing Writer, Angi[3]
Conclusion
Getting prepared ahead of time makes the pickup process smoother and helps keep costs down. When you sort your items, clear pathways, and communicate your needs with the service provider, the whole experience becomes more efficient, saving both time and resources.
By taking the time to separate items for recycling or donation – perhaps to organizations like the Salvation Army or Big Brothers – you align with Green Light Junk Removal’s efforts to reduce landfill waste. They ensure that usable items are donated or recycled, giving them a second chance instead of discarding them unnecessarily [4].
Their all-inclusive service takes the hassle out of multiple trips to recycling centers or figuring out special handling requirements. From e-waste to appliances with refrigerants, Green Light Junk Removal handles it all while adhering to environmental guidelines [3][4].
With upfront pricing and an easy online booking system, scheduling a pickup is straightforward. Most jobs are completed in one to three hours, depending on the size and accessibility of the load [2], making it a convenient option that fits seamlessly into your day.
FAQs
How do I estimate how much space my junk will take?
When figuring out how much space your junk will take up, it helps to think in terms of truck load sizes. For instance:
- Small loads: About a quarter of a truck, perfect for smaller items.
- Medium loads: Between a quarter and half a truck, suitable for moderate amounts of clutter.
- Large loads: Up to a full truck, ideal for bulky furniture or bigger items.
Imagining your junk in these terms can make the process easier. Providing these details to the removal service can also lead to a more precise estimate.
What should I do with hazardous items before pickup?
Handling hazardous items with care is crucial for safe and responsible disposal. Items such as batteries, lightbulbs, and small electronics often need special attention. For example, taping battery ends can help prevent fires, and it’s important to separate rechargeable batteries from non-rechargeable ones.
For larger items like car batteries or propane canisters, additional steps may be required. It’s a good idea to reach out to your local waste management or junk removal service to get clear instructions before scheduling a pickup. Proper handling ensures safety and compliance with disposal guidelines.
Do I need to be home during the pickup?
You typically don’t need to be home for a junk removal pickup. Most companies can manage everything on their own as long as you’ve organized the items and clearly indicated what should be taken. That said, it’s a good idea to confirm with your service provider – some might need you there for certain items or unique instructions.